Some of the links in this post are affiliate links, which means that if you click on these links and make a purchase or take some other action, we may receive a commission at no additional cost to you.
Learn how to self-host your blog with WordPress, gaining full control over your site and content. In this comprehensive guide, I will walk you through the steps involved in choosing web hosting and building your website to make money. to unleash your blogging potential with self-hosting and WordPress.
Contents
- Self-Hosting Your Blog
- Choose A Web Hosting Package
- Sign Up for Web Hosting
- Create Your Website
- Self-Host Your Blog With WordPress
- Domain Registration
- Installation
- Design Your Website
- Install Plugins
- Reset Permalink Structure
- Write or Upload Blog Posts
Self-Hosting Your Blog
Taken together opinions and recommendations I’d found during my preliminary research, I eventually decided to self-host my new blog.
Primarily, I want full control over my site and content. I learned a painful lesson when Amazon terminated my Kindle Direct Publishing (KDP) account, and I found it hard to seek redress. I might risk losing my site and content if I host my blog on a free platform.
Also, I might face certain limitations when I want to monetize my blog if it is not self-hosted. This blog is essentially a business venture I started to make money. For this reason, I reckon that it is sensible and worthwhile to invest some money, i.e. paying the hosting fee.
Besides having complete control over my site, by self-hosting, I can choose my own domain name. It will make my blog look more professional and appealing.
Choose A Web Hosting Package
Affordability is another factor that prompted me to choose the self-hosting option. Through my inexhaustive research on hosting service companies, I found several companies that offered inexpensive packages.
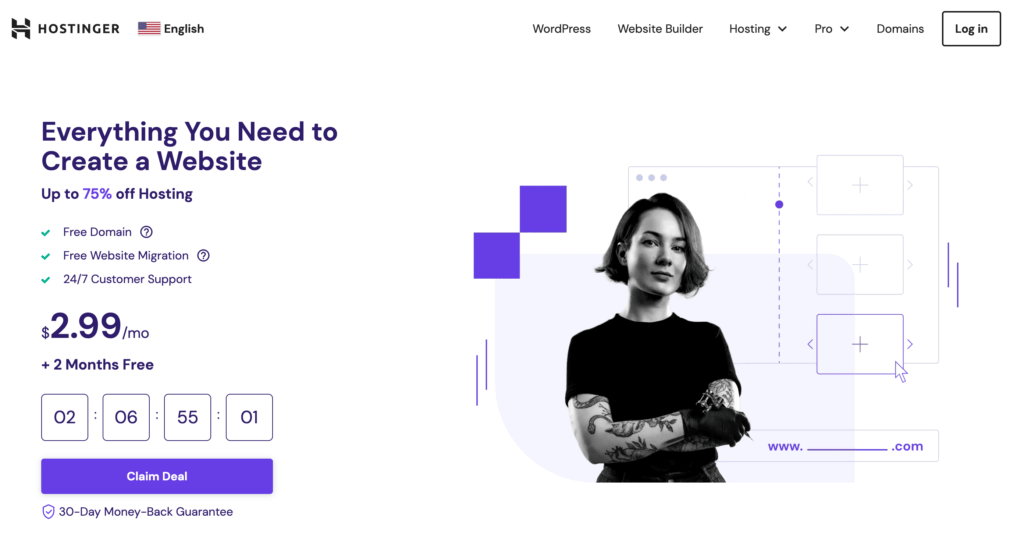
In the end, I chose Hostinger. It has been ranked No.1 by a Crazy Egg review. It offers incredibly affordable packages, that come with perks like a free domain for the first year, free emails, and unlimited free SSL.
Save for later ⤵️
Not a tech-savvy person, the 24/7 Customer Support service is necessary for me. At the point of writing this, it is the third day since I set up my site, and I’ve contacted them twice for technical support. The Hostinger team has been friendly and helpful indeed.
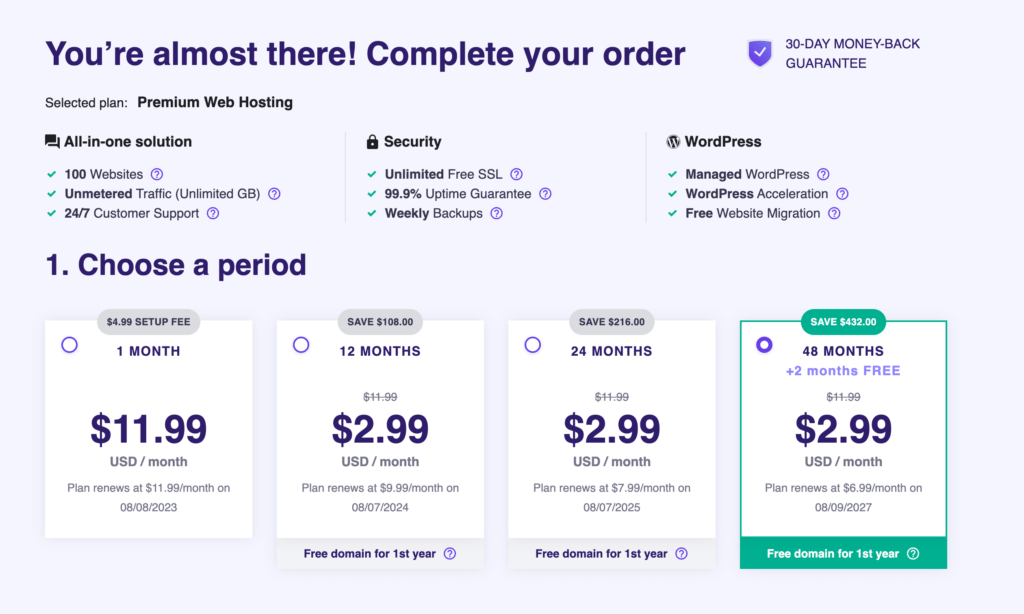
I signed up for the 48-month package to lock in the hosting cost for the next four years.
Sign Up for Web Hosting
Now, I shall walk you through the process of signing up for Hostinger‘s web hosting service as the first step of self-hosting your blog.
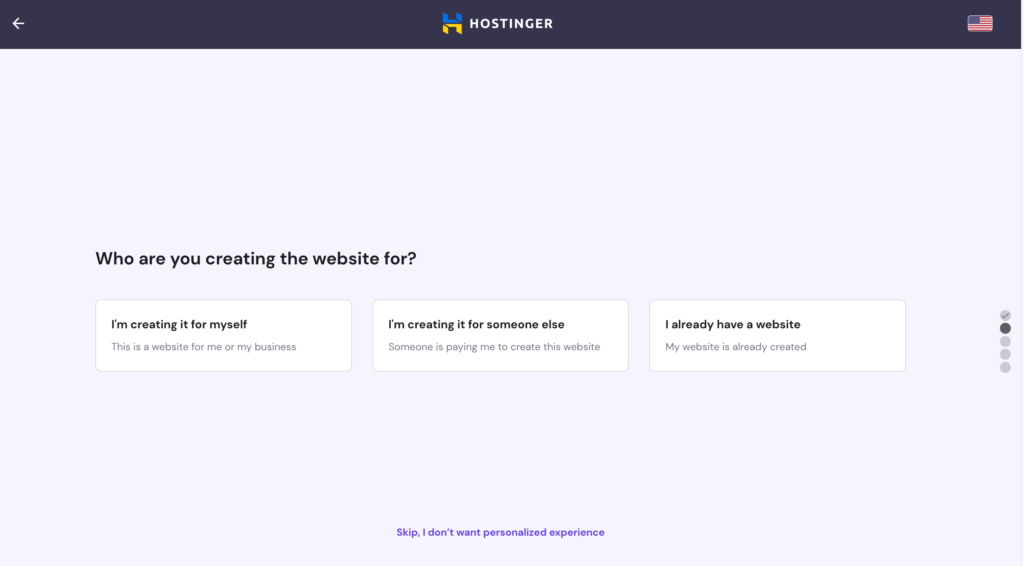
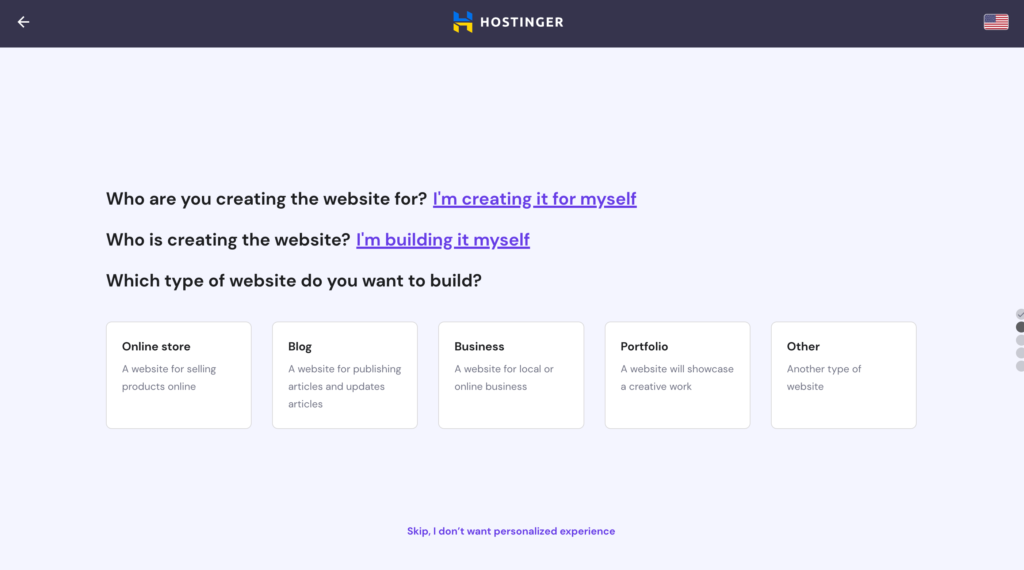
Once you choose your preferred package, you will come across a few simple questions first: Who are you creating the website for? Who is creating the website? Which type of website do you want to build?
Create Your Website
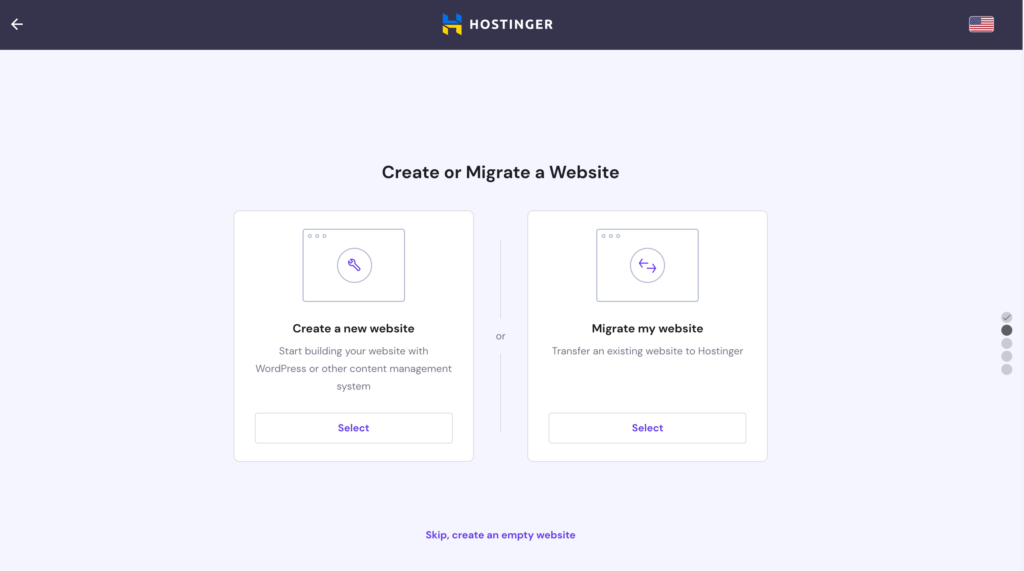
After answering those questions, you will be led to a page where you can choose to create a new website with WordPress or another content management system, migrate an existing website, or create an empty website.
I clicked the first option to proceed.
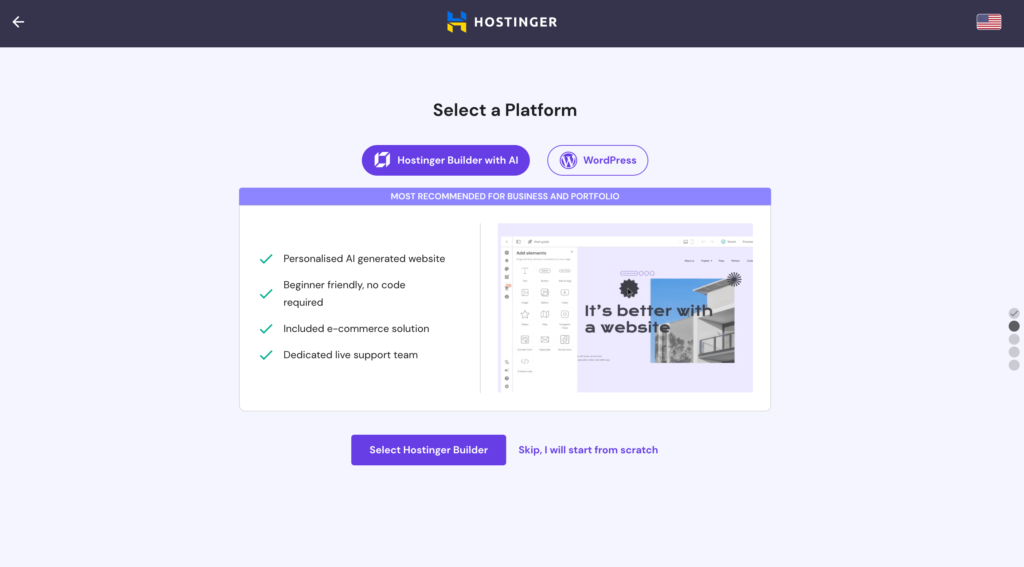
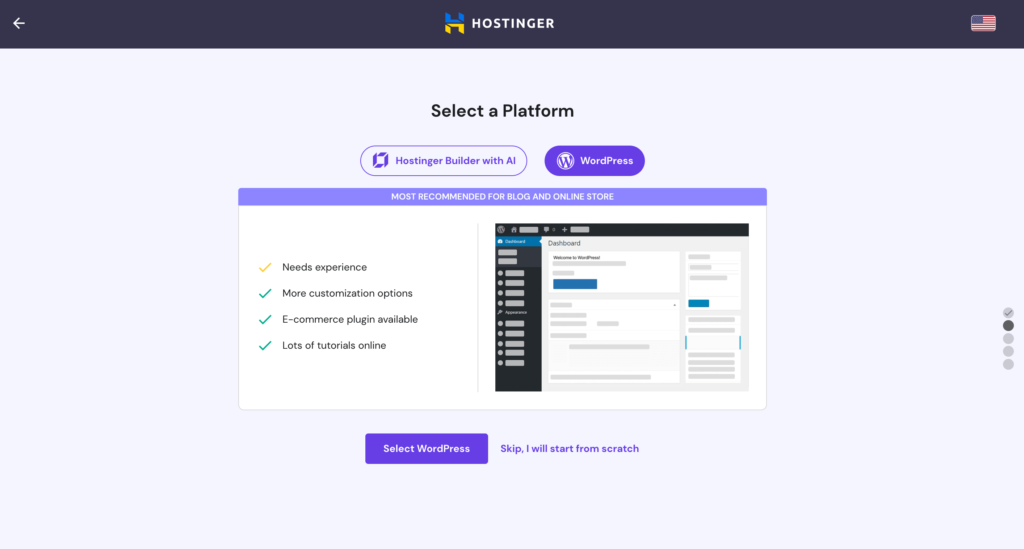
Next, I was asked to build my website with either AI-powered Hostinger Builder or WordPress.
The two options have their respective pros and cons. The AI-powered Hostinger Builder is beginner friendly and includes an e-commerce solution. The WordPress option is recommended for users with some experience, but it includes more options to customize our sites.
Despite my lack of experience, I selected the latter. Why? Maybe because subconsciously, I liked to challenge myself a little more.
Self-Host Your Blog With WordPress
To build a site with WordPress, we need to create login details for our WordPress account.
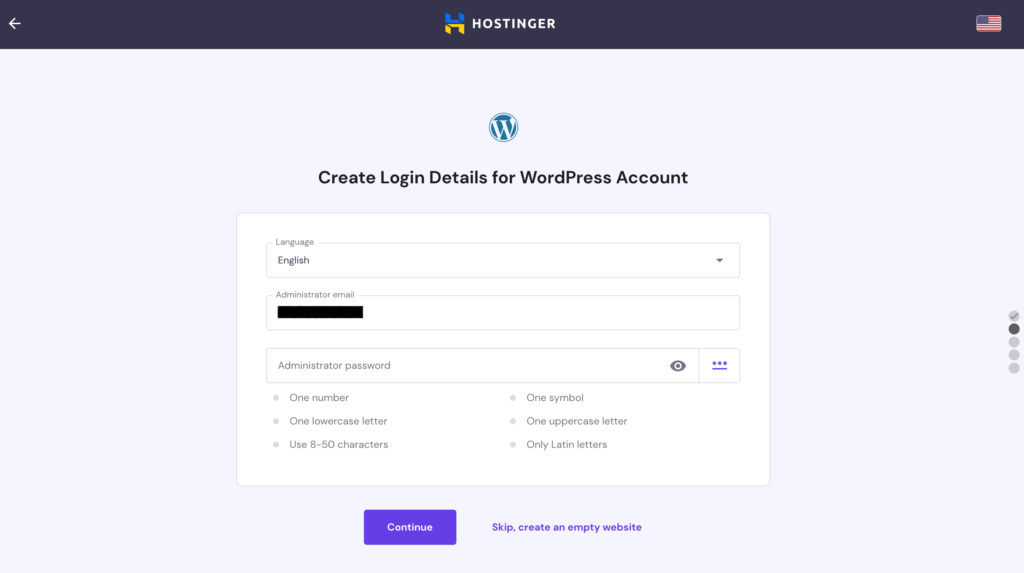
And now, finally, the fun part begins!
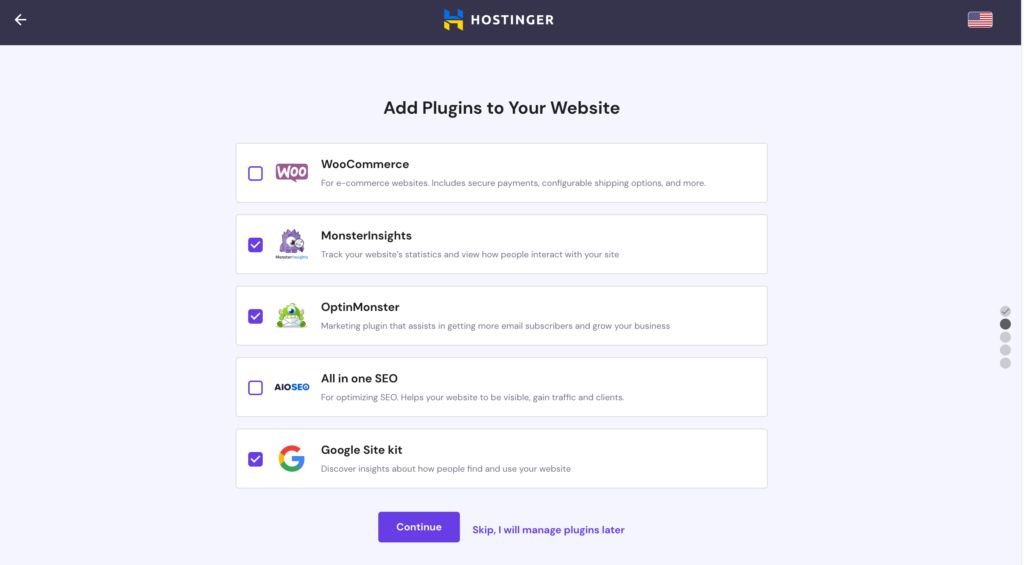
We will first be asked to add some plugins to our website. We can always keep things simple first by skipping this step first and adding our preferred plugins later.
Next is the step to choose a theme, i.e. how our website will look like. There aren’t many choices here. But don’t worry, there are many more themes available once we get into the dashboard. So simply pick one here even if you don’t like any of them. You can always change it later.

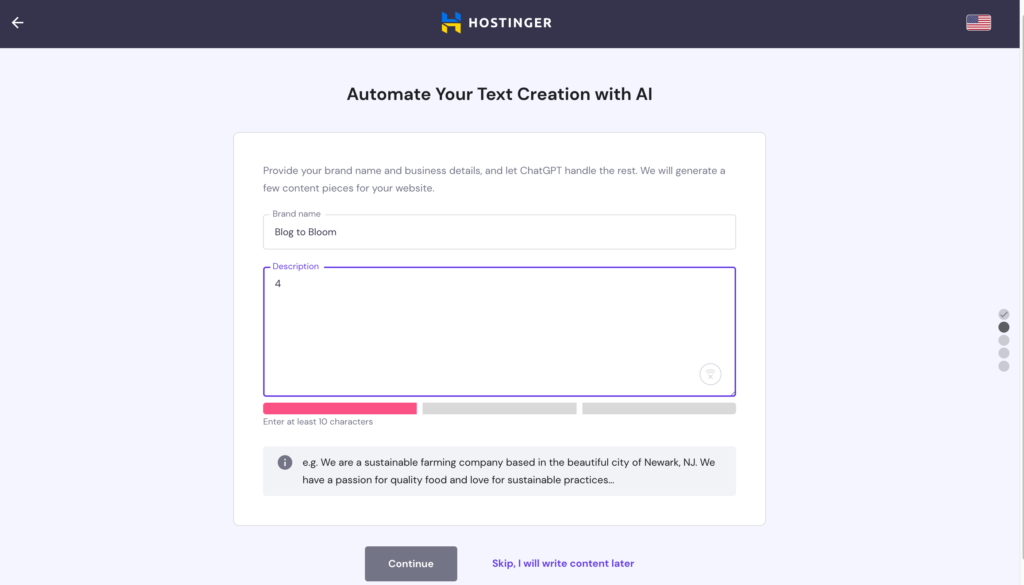
Once we pick a theme, we will come to a page where we can ask Chat GPT to generate some content for our website. I wasn’t sure what this step was for when I came to this page, only to realize later that my website was populated with AI-generated articles when it was set up.
If you already have your blog posts ready, simply click the “skip” button.
Domain Registration
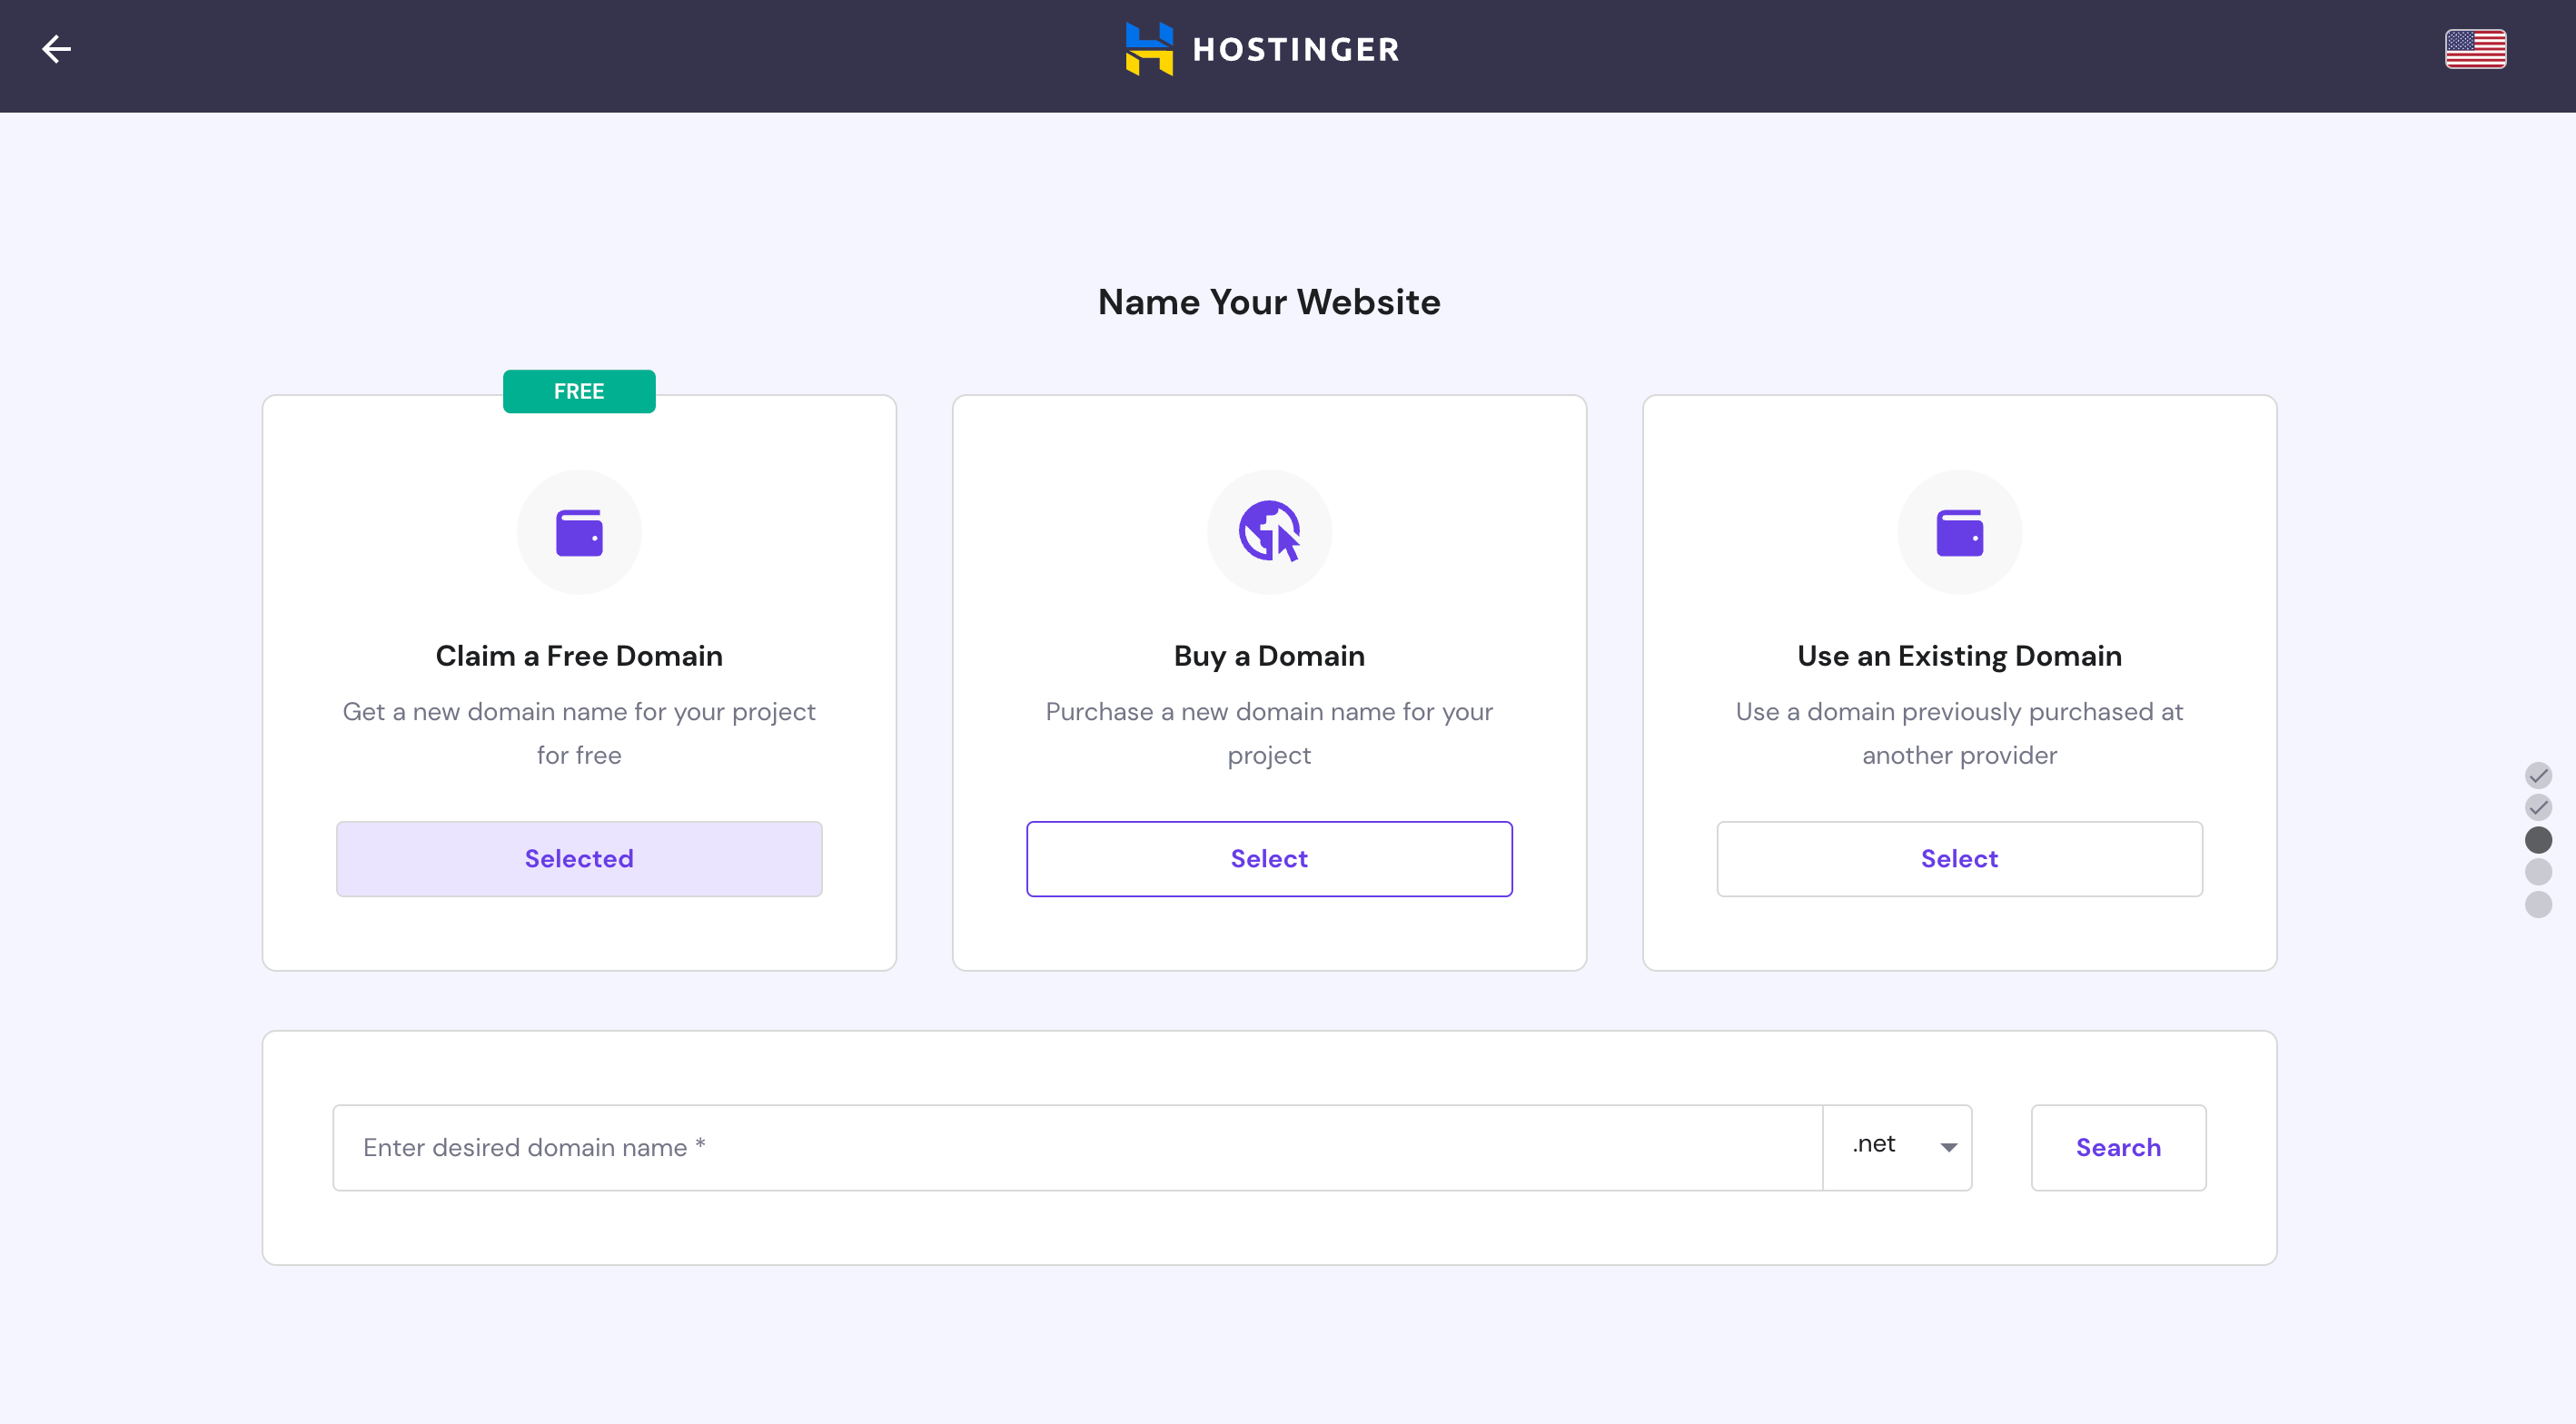
To self-host our blog, we need our own domain. But it also means that we get to choose a domain name that is concise, easy to remember, and subject to availability, as close to our blog name as possible.
Yes, subject to availability. Our preferred name(s) may have been taken.
I checked once a few days before I signed up for web hosting. My desired domain name was still available then. Fingers crossed that nobody has taken it yet.
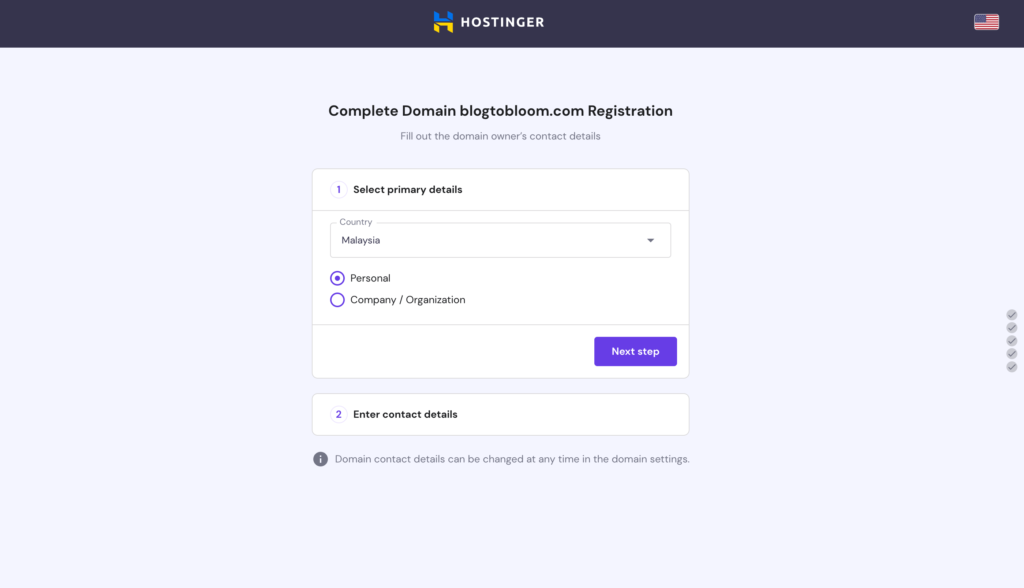
Thankfully blogtobloom.com is still available. I quickly grab my free domain that comes together with the Hostinger package and complete the registration.
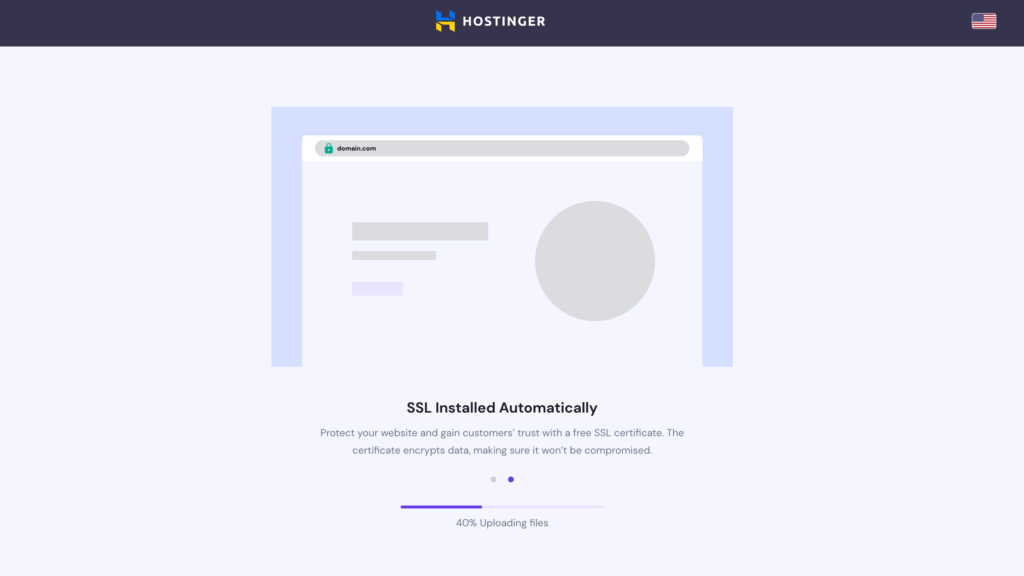
Installation
Once the domain registration is completed, the installation process starts. It’s carried out automatically. We can go get a cup of coffee or stretch the body a bit. The installation should be done when we’re back.
Design Your Website
Once the installation is complete, we will come to our dashboard. More fun, exciting, and challenging tasks await us from now on.
If you’re unhappy with the theme you chose earlier, you find plenty of other themes here. Just click the “Add New” button beside Themes to find a theme to your liking.
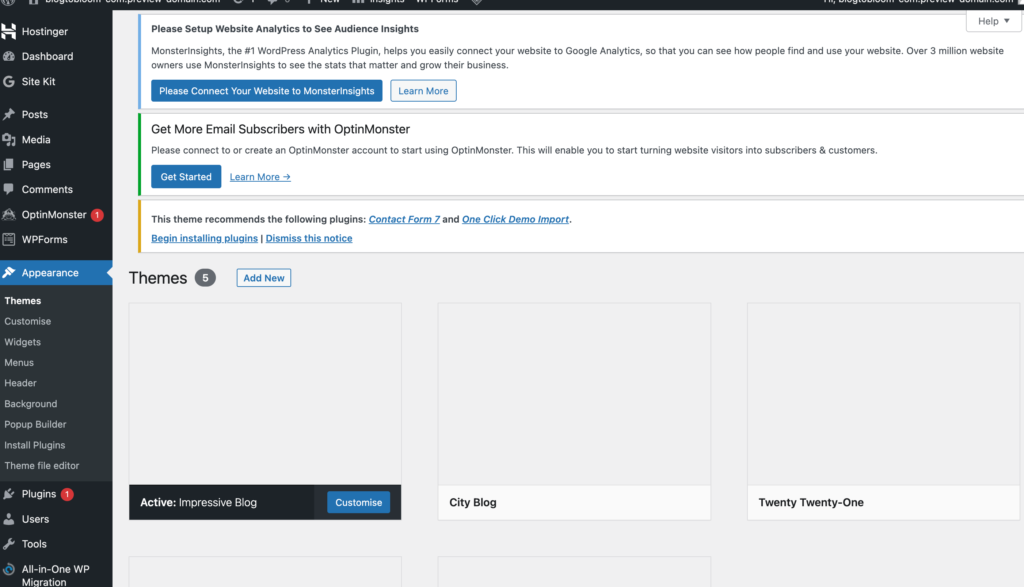
After you pick a theme, you may want to customize your menu and add a few pages such as Home, About, Contact, Blog, Products, etc, to the menu list.
The right part of the picture below shows the few articles that Chat GPT generated for my blog based on the description I provided earlier.

Install Plugins
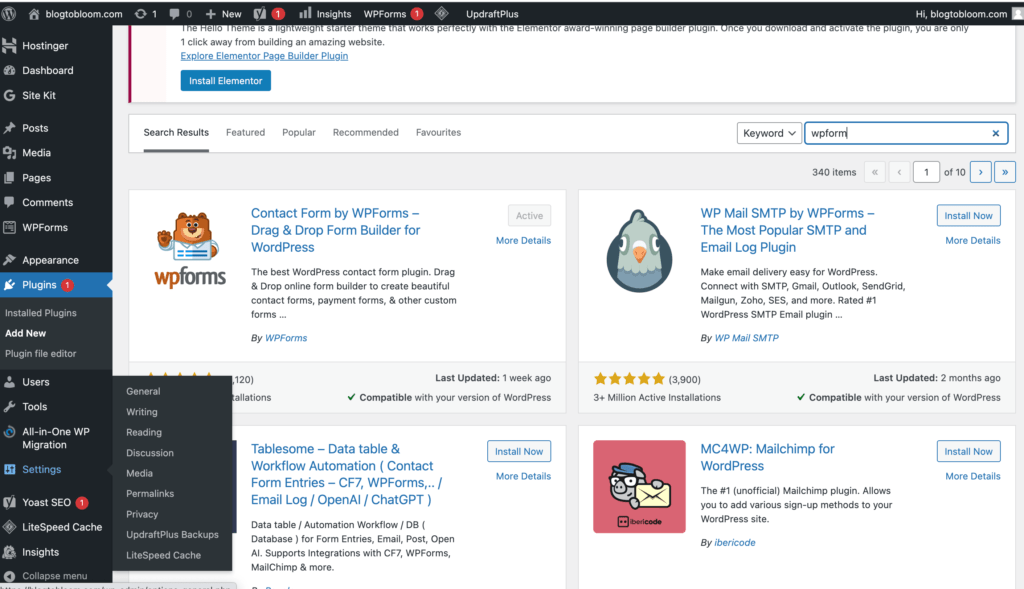
WordPress templates come with a myriad of plugins. I reckon that some are essentials to build a successful blog. But for a start, I think it’s better to keep things simple and refrain from installing too many plugins before we get a grasp of what they are really for.
So I chose Google Site Kit to get insights into how people find and use my site, Yoast SEO to help to optimize my posts for search engines, wpforms to create contact forms, Ultimate Social Media Icons to install social media share buttons, and FMTC Affiliate Disclosure to include a disclosure statement at the beginning of my posts.
Reset Permalink Structure
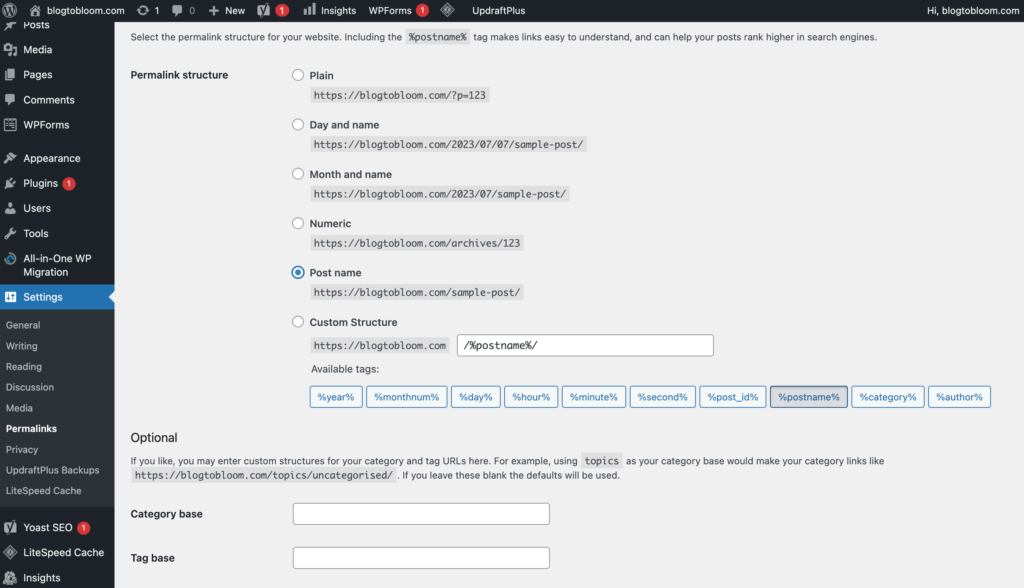
Another essential step to take before you upload your blog posts is to reset the permalink structure. The default setting is “Plain,” but an SEO-friendly option is a permalink that contains words from the blog title. So it’s advisable to reset it to “post name.”
In addition, the best practice is to customize the permalink each time you write and publish a new blog post. A shorter permalink is more recommendable. So if possible, edit your permalink for each of your blog posts by keeping 3-4 main keywords only.
Editing the permalink only after the blog post has been published for a while will cause much hassle. Remember to set it right in the beginning.
Write or Upload Blog Posts
Once you have completed all the steps above, you’re good to go. Click “Post” on the left sidebar to compose your first blog post. Alternatively, you can copy and paste any pre-written text.
Have you written your first blog post? Have no idea how to start? Check out the 6 essential writing tips I put together for you to unleash your blogging potential!
Congratulate yourself and give yourself a tap on the back when you get to this milestone. However, creating a self-hosted blog is only the beginning of the journey toward successful blogging. We have many more tasks awaiting us ahead. Let’s embrace the challenge, have fun, and let our creativity bloom!
I’d would like to hear your thoughts and questions! If you have any insights to share, experiences to discuss, or need further guidance, drop your comments below. Happy blogging!
Leave a Reply